If you're looking for a reliable and secure way to store your cryptocurrency, the Trezor hardware wallet is one of the best options on the market. With its robust security features and user-friendly design, it offers peace of mind for those serious about safeguarding their digital assets. This blog will walk you through the process of setting up your Trezor wallet through Trezor.io/start, step-by-step, to ensure you're ready to store, send, and receive crypto without a hitch.
What is Trezor?
Trezor is a hardware wallet designed to store your cryptocurrency in a highly secure manner. Unlike software wallets that are connected to the internet, Trezor is a physical device that stores your private keys offline, making it almost impossible for hackers to steal your funds. Trezor wallets are known for their ease of use, and they support a wide range of cryptocurrencies, including Bitcoin, Ethereum, Litecoin, and many others.
Steps to Set Up Your Trezor Wallet: A Beginner’s Guide
1. Unbox Your Trezor Device
Once you’ve received your Trezor device, carefully unbox it. Inside, you’ll find the hardware wallet, a USB cable, and a recovery seed card. This card is crucial for backing up your wallet, so keep it safe and secure.
2. Go to Trezor.io/start
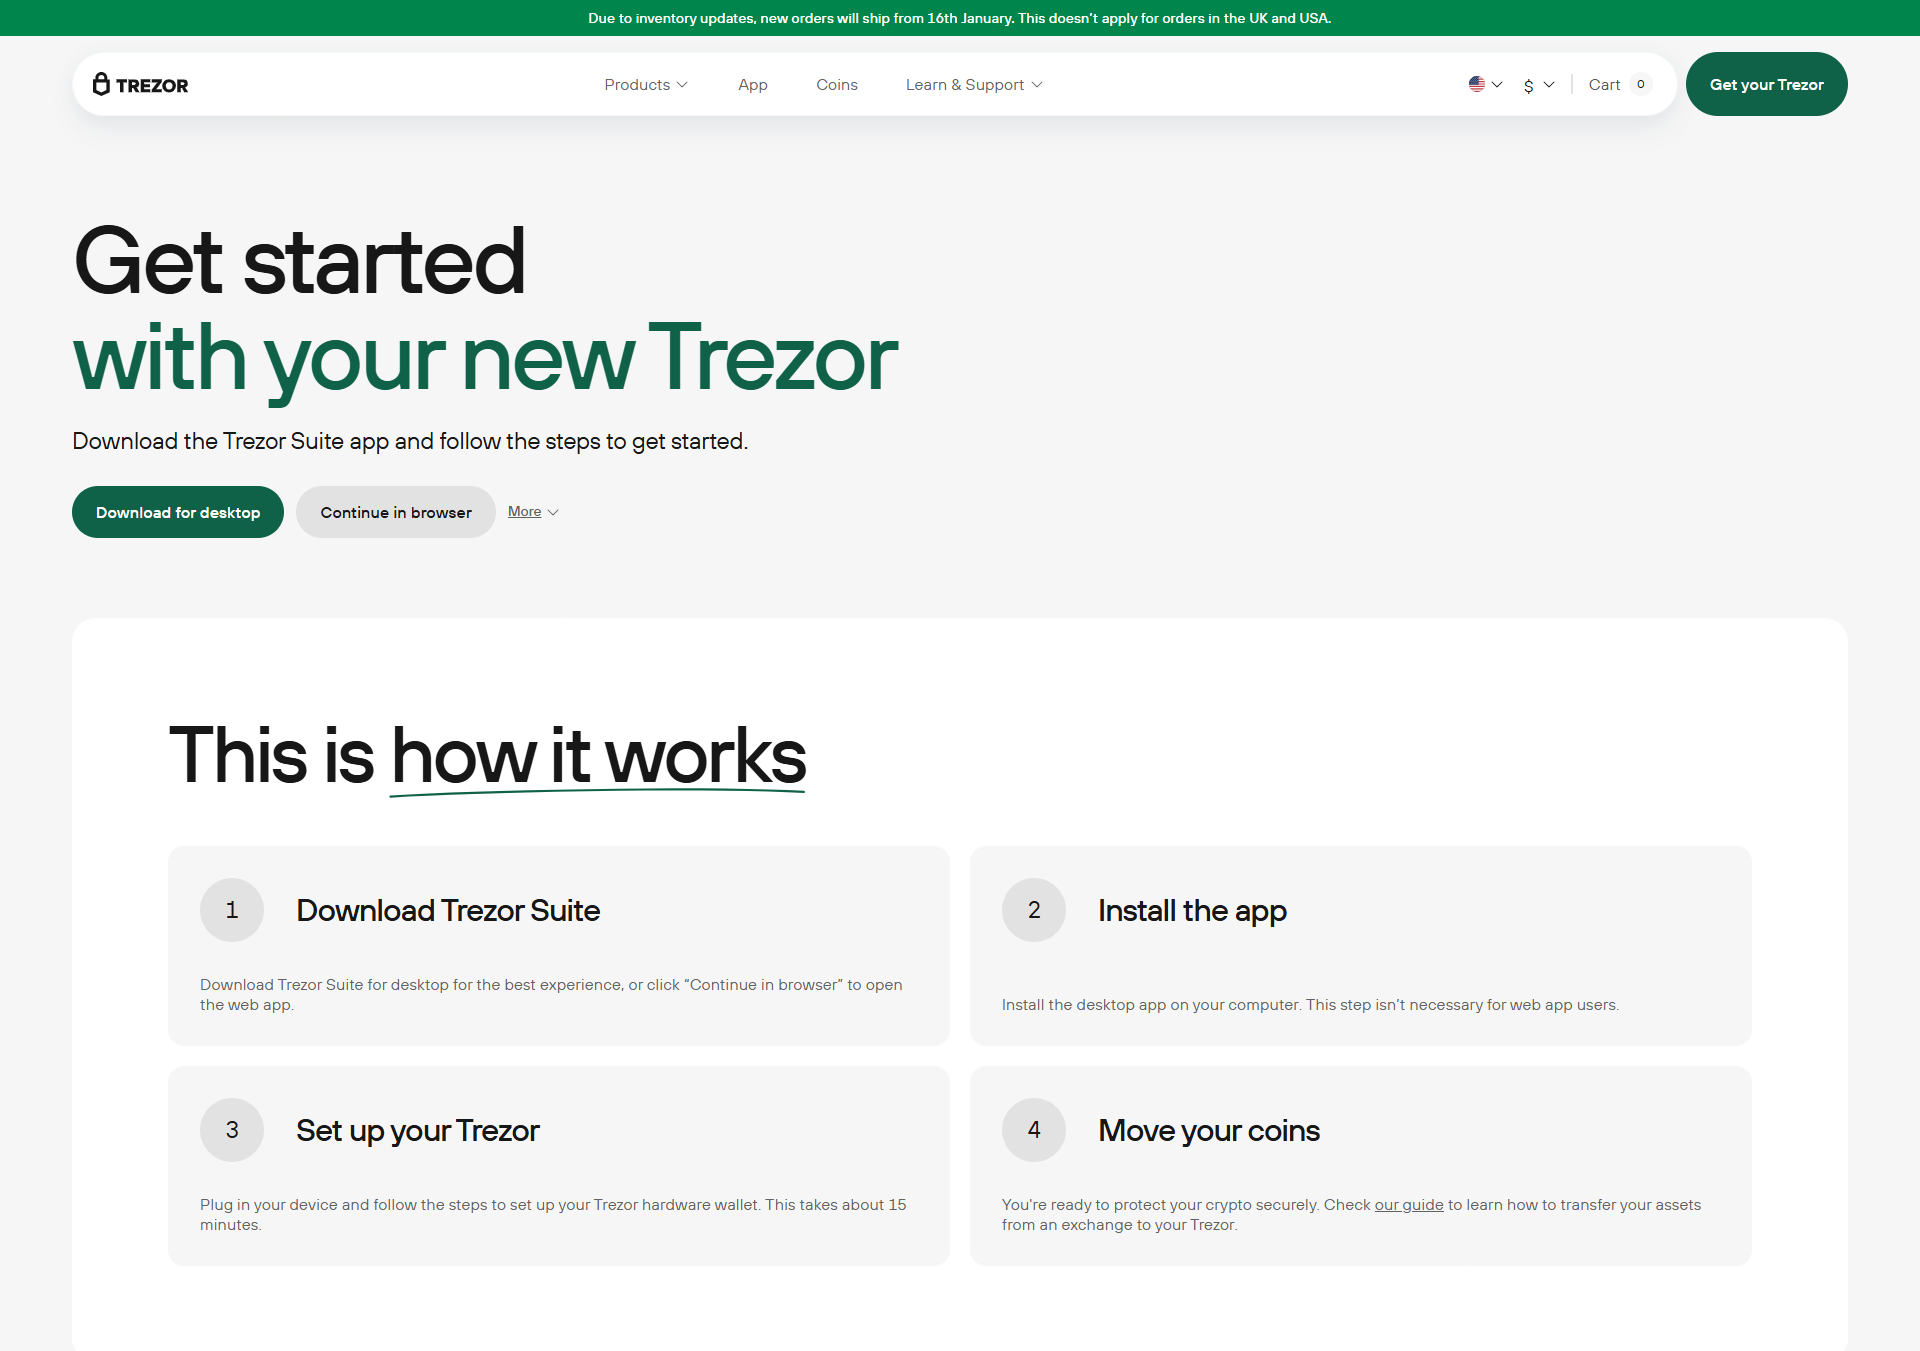
Open a browser on your computer or smartphone and navigate to Trezor.io/start. This is the official website where you’ll begin the setup process.
3. Download Trezor Suite
You'll be prompted to download Trezor Suite, the application that will connect your Trezor wallet to your computer. This software is available for Windows, macOS, and Linux. Follow the on-screen instructions to complete the installation.
4. Connect Your Trezor Device
Using the provided USB cable, connect your Trezor device to your computer. The Trezor Suite will automatically detect the device and guide you through the rest of the setup process.
5. Create a New Wallet or Restore an Existing One
You will be given the option to either create a new wallet or restore an existing one using your recovery seed. If you're setting up a new wallet, you’ll need to choose a PIN to secure your device.
6. Write Down Your Recovery Seed
This is one of the most important steps! You’ll be shown a 24-word recovery seed. Write it down on the recovery seed card and store it in a safe location. This seed is your only way to recover your wallet if the device is lost or damaged.
7. Verify the Seed
Once you've written down the recovery seed, Trezor will ask you to verify the words in the correct order. This step ensures that you’ve securely backed up your wallet.
8. Start Using Your Trezor Wallet
Once the setup is complete, you can start using your Trezor wallet. You can send and receive cryptocurrency, manage your assets, and explore advanced settings through the Trezor Suite.
Conclusion
Setting up your Trezor hardware wallet through Trezor.io/start is a simple yet important step in securing your cryptocurrency. By following these easy-to-understand instructions, you’ll ensure that your digital assets are stored safely and securely. Whether you’re new to cryptocurrency or an experienced user, Trezor offers peace of mind knowing your assets are in safe hands.
For more information, visit Trezor.io/start and begin your journey toward secure crypto storage today!
Made in Typedream